【Godot】Visual StudioでC++のプラグインを作る
Godot EngineはGDScript以外にもC++で開発することができます。
仕組みをGDNativeといい、Godotのエンジン機能にアクセスすることができます。
一応公式ではGDNativeのビルドツールにSConsを推奨していますが、Visual StudioでC++プラグイン開発したいと思う方は結構いるんじゃないでしょうか。
今回はVisual StudioとC++でGodotプラグインを開発する方法をまとめました。
ビルド環境
- Windows10 64bit
- Visual Studio 2019
- Godot Engine 3.2
準備
C++開発するために必要なgodot-cppを準備します。
godot-cppをcloneする
"3.2"は現在使用しているGodotバージョンと同じものを指定します。
git clone --recursive -b 3.2 https://github.com/GodotNativeTools/godot-cpp.git
godot-cppをビルドする
godot-cppのビルドにはSConsを使用します。
持っていない場合はPythonをインストールしてからpip install sconsでSConsをインストールします。
32/64bit版、Debug/Release版をそれぞれビルドします。
scons platform=windows bits=32 generate_bindings=yes target=debug -j4
scons platform=windows bits=32 generate_bindings=yes target=release -j4
scons platform=windows bits=64 generate_bindings=yes target=debug -j4
scons platform=windows bits=64 generate_bindings=yes target=release -j4
Visual Studioでプラグインを作成する
プロジェクト作成
Win32 C++ DLLプロジェクトを作成します。
プロジェクト設定
以下のgodot-cppのヘッダーパスをインクルードディレクトリに追加します。
- $(ProjectDir)godot-cpp\godot_headers
- $(ProjectDir)godot-cpp\include
- $(ProjectDir)godot-cpp\include\core
- $(ProjectDir)godot-cpp\include\gen
※今回はプロジェクトディレクトリ内にgodot-cppを配置しています。別の場所に配置した場合は適宜変更してください。
さらに以下のgodot-cppのライブラリをビルド構成それぞれに指定します。
- [Win32/Debug] $(ProjectDir)godot-cpp\bin\libgodot-cpp.windows.debug.32.lib
- [Win32/Release] $(ProjectDir)godot-cpp\bin\libgodot-cpp.windows.release.32.lib
- [x64/Debug] $(ProjectDir)godot-cpp\bin\libgodot-cpp.windows.debug.64.lib
- [x64/Release] $(ProjectDir)godot-cpp\bin\libgodot-cpp.windows.release.64.lib
プラグインソースの追加
公式のチュートリアルにならってSpriteを拡張したクラスを作成します。
https://docs.godotengine.org/ja/latest/tutorials/plugins/gdnative/gdnative-cpp-example.html
#pragma once

#include <Godot.hpp>
#include <Sprite.hpp>

class MySprite : public godot::Sprite
{
    GODOT_CLASS(MySprite, godot::Sprite)

private:
    float time_passed;

public:
    static void _register_methods();

    MySprite();
    ~MySprite();

    void _init();

    void _process(float delta);
};
#include "MySprite.h"

using namespace godot;

void MySprite::_register_methods()
{
    register_method("_process", &MySprite::_process);
}

MySprite::MySprite()
{
}

MySprite::~MySprite()
{
}

void MySprite::_init()
{
    time_passed = 0.0;
}

void MySprite::_process(float delta)
{
    time_passed += delta;

    Vector2 new_position = Vector2(10.0 + (10.0 * sin(time_passed * 2.0)), 10.0 + (10.0 * cos(time_passed * 1.5)));

    set_position(new_position);
}
次にDLLからエクスポートされるC関数を追加します。
#include "MySprite.h"

extern "C" void GDN_EXPORT godot_gdnative_init(godot_gdnative_init_options *o)
{
    godot::Godot::gdnative_init(o);
}

extern "C" void GDN_EXPORT godot_gdnative_terminate(godot_gdnative_terminate_options *o)
{
    godot::Godot::gdnative_terminate(o);
}

extern "C" void GDN_EXPORT godot_nativescript_init(void *handle)
{
    godot::Godot::nativescript_init(handle);

    godot::register_class<MySprite>();
}
プラグインのビルド
エラーが出なければ成功です。
Godotプロジェクトにプラグインを登録する
DLLをGodotプロジェクトの以下に配置します。
今回は開発中なのでデバッグ版DLLを配置します。(最終的にはRelease版DLLを配置します)
- myplugin/win32/libmyplugin.dll
- myplugin/win64/libmyplugin.dll
次にプラグインの定義ファイルを追加します。(新規リソース追加)
- myplugin/myplugin.gdnlib
myplugin.gdnlibにDLLを設定します。(今回はWindowsのみ)

プラグイン内のクラスのNativeScriptを追加します(新規スクリプト追加)
- MySprite.gdns
Libraryにmyplugin.gdnlibを設定します。

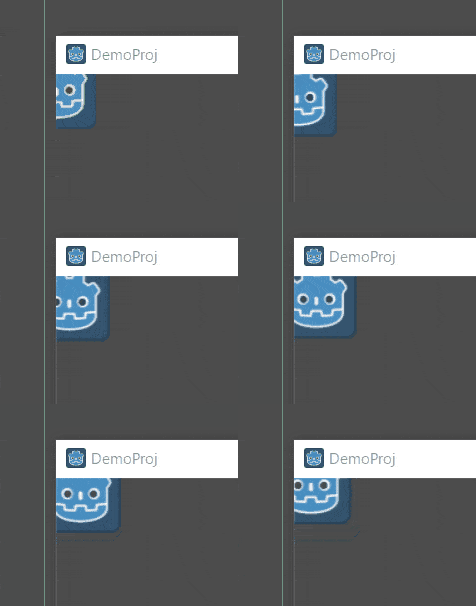
スプライトにMySpriteを設定して実行。

うまく動いているようです。
Visual Studioでプラグインをデバッグする
デバッグ版DLLをGodotプロジェクト内に配置します。
Godotで実行中のプロセスにアタッチする方法を行います。
Visual Studioメニューのデバッグ→プロセスにアタッチを選択します。

プロセスにアタッチが成功すると、プラグインソース内でブレークできました。

これでプラグイン開発が捗りますね!
サンプル置き場
https://github.com/ueshita/gdnative-vsproj-example
おわりに
本記事はWindowsで効率よくGodot向けのプラグインを開発したい方向けです。
しかし実際のところ、Macやモバイルといったマルチプラットフォーム向けには、結局SConsでビルドできるようにする必要があります。(MacはMacでXCodeでビルドできるようにすると多少捗るかもしれませんが…)